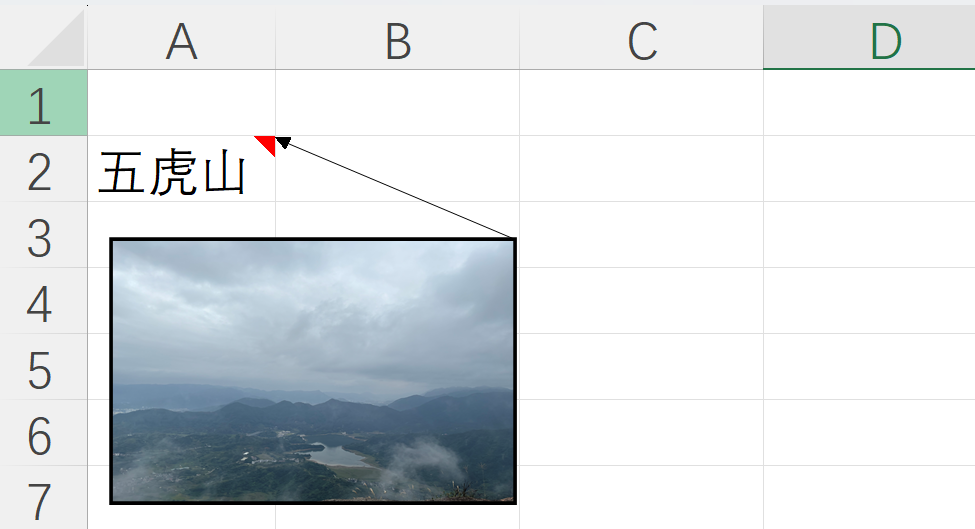
要在Excel某个单元格插入图片批注,其详细步骤如下:
1.右键某个单元格,然后选择“新建注释”;
2.在注释边框上,右键选择“设置批注格式”;
3.在“设置批注格式”对话框中,依次选择“颜色与线条”--->“填充”--->“填充效果”;
4.在“填充效果”对话框里,点击“图片”--->“选择图片”。

图片批注
可以看到,给某个单元格插入图片批注的步骤相对繁琐。如果要在多个单元格插入图片批注,一个一个单元格重复以上操作,显然不是较好的选择。
因此,我们可以利用VBA实现在Excel批量插入图片批注。主要有以下好处:(1)尽可能地减少手动插入图片批注的繁琐过程;(2)实现单元格的值与图片文件名的自动匹配;(3)可以自定义图片批注的长宽等属性。
设计思路1.选中要插入图片的单元格区域;
2.弹出对话框,允许我们选择图片的文件夹路径;
3.遍历选中的单元格区域,如果单元格的值与图片文件名一致,则插入图片批注;
4.最后,批量设置图片批注的长宽等属性。

批量插入图片注释GIF
VBA代码Sub批量插入图片批注()
With Application.FileDialog(msoFileDialogFolderPicker)
.Title = "请选择JPG图片所在的路径"
.InitialFileName = "d:\"
If .Show Then
Dim pathSelected As String
pathSelected = .SelectedItems(1)
Else
Exit Sub
End If
End With
Dim Cmt As Comment
On Error Resume Next
Dim rng As Range
For Each rng In Selection
Dim fn As String
fn = pathSelected & "\" & rng.Value & ".jpg"
If (Not IsEmpty(rng)) And Dir(fn) <> "" Then
rng.Select
rng.AddComment
rng.Comment.Visible = False
rng.Comment.Text Text:=" "
rng.Comment.Shape.Fill.UserPicture PictureFile:=fn
End If
Next
'修改图片注释的长宽
For Each Cmt In ActiveSheet.Comments
Cmt.Parent.Comment.Shape.Width = 200
Cmt.Parent.Comment.Shape.Height = 100
Next
End Sub
