今天给大家分享4款AI抠图工具,可以帮助大家轻松搞定抠图这件事!这些工具都能快速去掉图片的背景,轻松成为抠图大师。下面就来看看有哪几款AI抠图工具吧!

工具一:嗨格式抠图大师
抠图教程:
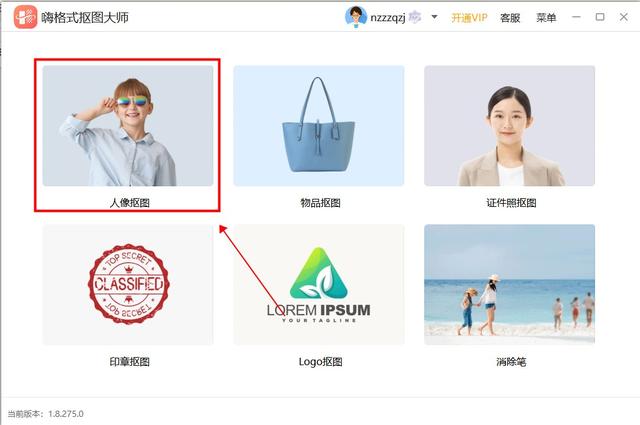
1. 打开“嗨格式抠图大师”软件,进入主界面后选择抠图模型,这里选择的是【人像抠图】功能。
2. 在新界面中点击【单张添加】按钮,从本地文件夹中选择需要处理的图片,上传到软件中。

3. 图片上传后等待软件自动识别并抠出图中的人像,完成后会出现透明背景的效果,使用右侧的工具可以添加背景图片等。

工具二:PhotoKit
抠图教程:
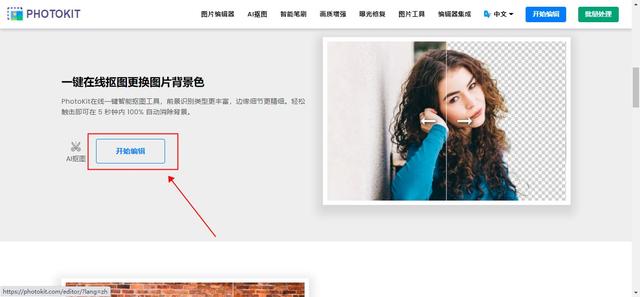
1. 打开“PhotoKit”网站,进入官网后点击首页中的【开始编辑】按钮。
2. 在新网页中点击【打开图片】按钮,从本地文件夹中选择需要处理的图片,上传到软件中。

3. 图片上传后点击下方的【CUTOUT】按钮,等待网站自动识别并抠出图中的主体。

4. 完成后会出现透明背景的效果,使用下方的工具可以添加背景图片等。

工具三:inPixio
抠图教程:
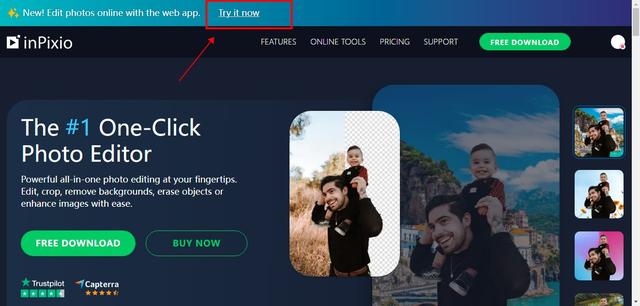
1. 打开“inPixio”网站,进入官网后点击首页上的【Try it now】链接。
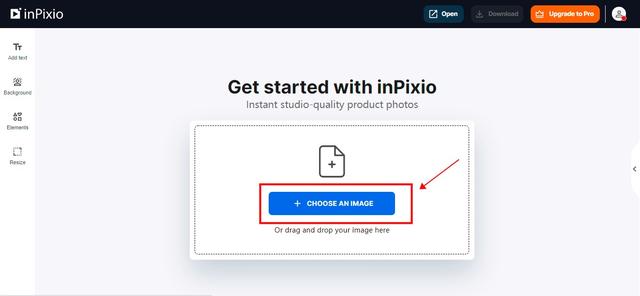
2. 在新网页中点击【CHOOSE AN IMAGE】按钮,从本地文件夹中选择需要处理的图片,上传到软件中。
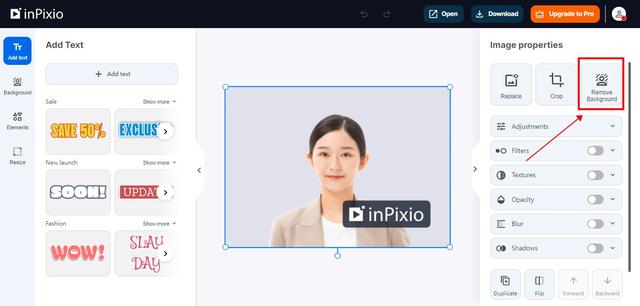
3. 图片上传后点击右侧的【Remove Background】按钮,等待网站自动识别并抠出图中的主体。
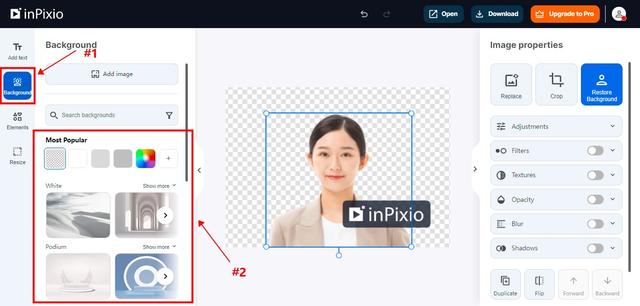
4. 完成后会出现透明背景的效果,使用左侧的工具可以添加背景图片等。
工具四:酷雀AI智能抠图
抠图教程:
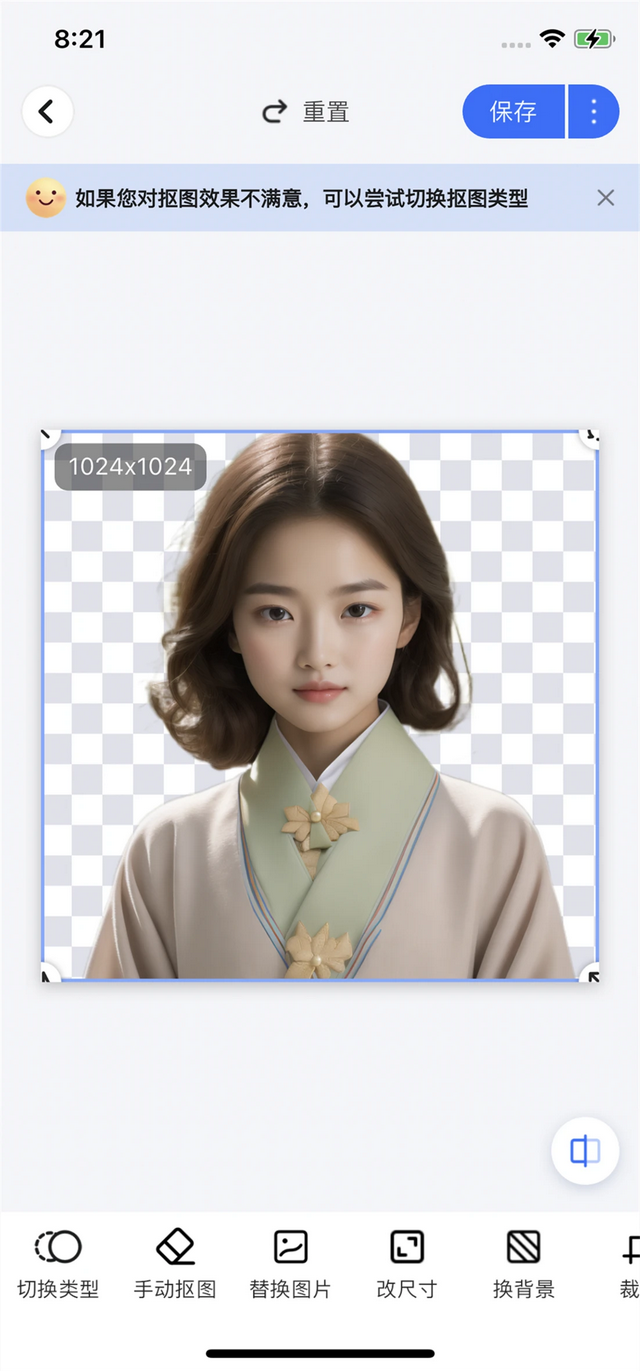
1. 打开“酷雀AI智能抠图”软件,进入主界面后选择【AI智能抠图】功能,从本地相册中选择需要处理的图片,上传到软件中。

2. 图片上传后等待软件自动识别并抠出图中的人像,完成后会出现透明背景的效果,使用下方的工具可以添加背景图片等。
好了,今天的分享就到这里啦!这几款AI抠图工具的操作步骤是不是看起来非常简单?用它们抠图将变得不再复杂!不论你是要抠出什么元素,这些工具都能快速完成!有需要的可以试一下这些软件,相信你们可以感受抠图的乐趣!如果觉得有用,不妨给小编点赞哦!
