拍照或下载图片时,常常会遇到碍眼的水印,影响美观。如果你也在找简单易用的去水印方法,那今天的分享绝对适合你!不需要高超的图片处理技能,通过以下4个工具和方法,就能轻松去除图片水印,让照片焕然一新。一起看看这些简单实用的方法吧!

工具一:酷雀AI智能抠图
去水印步骤:
步骤一,打开『酷雀水印管家』应用,点击首页中的【图片去水印】,从跳出的本地相册中导入带水印的图片。

步骤二,图片导入后,下方有去水印的方式,选择“手动消除”是使用涂抹或框选标记水印区域再处理消除;选择“智能消除”或“TTA消除”是自动识别水印并消除。

工具二:Photo Stamp Remover
去水印步骤:
步骤一,打开『photo stamp rempver』软件,点击软件中的【添加文件】按钮,从跳出本地文件夹中导入带水印的图片。

步骤二,手动涂抹需要去水印的区域,完成涂抹后点击右侧的【移除】,等待软件处理去除水印。

工具三:Watermark Remover
去水印步骤:
步骤一,打开『Watermark Remover』官网,点击官网中的【PHOTO WATERMARK】按钮,进入新页面中。

步骤二,点击新页面中的图片图标,从跳出本地文件夹中导入带水印的图片。

步骤三,图片上传后点击下方的【Remove】按钮,等待网页处理去除水印。

工具四:Snapseed
去水印步骤:
步骤一,打开『snapseed』应用,点击首界面中的任意位置,从跳出的本地相册中导入带水印的图片。
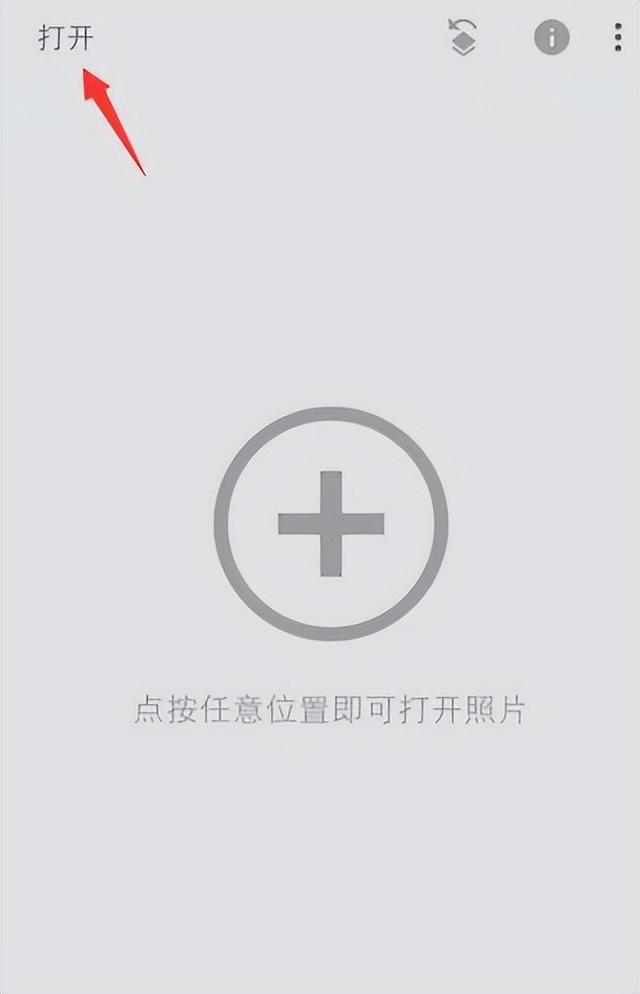
步骤二,图片上传后点击下方的【工具】,选择其中的【修复】功能处理去除图片水印。

以上4款去水印工具都非常适合日常使用,无论是在电脑端还是手机端,都能满足去除图片水印的需求。对于想要简化去水印操作的朋友,选择适合自己的工具试试吧!图片怎样去水印,不再是难题,快收藏这些方法,让图片更加干净完美!
