本文介绍了 QwQ-32B 在 AGX Orin 64G 上的部署情况。
详细阐述了具体的部署步骤,包括前期环境准备、相关软件安装与配置、模型文件的导入等操作流程。
其中提及了部署过程中的注意要点,为有类似部署需求的人员提供清晰指引。
一、下载ollamacurl-fsSL https://ollama.com/install.sh | sh
有概率因为⽹络原因导致卡着⽆进度,可以尝试下载打包好的 tar⽂件解压安装: 例如卡在这个位置很久都没有进度:

ollama.tar 下载地址:
百度⽹盘分享⽂件:ollama
链接: https://pan.baidu.com/s/1KPXOwXj0H2HdFZKx1aEuUQ?pwd=tajp
提取码 : tajp
tar xpf ollama.tar
cd ollama/
sudo ./install.sh
二、选择下载量化好的模型下载地址:
https://www.modelscope.cn/models/Qwen/QwQ-32B-GGUF/files

创建 ModelFile 文件,并输入以下内容,注意红框中的替换为自己模型下载后的路径。
sudo touch ./ModelFile

ModelFile 内容:
FROM/home/nvidia/test/modelscop/qwq-32b-q8_0.gguf
PARAMETER stop "<|im_start|>"
PARAMETER stop "<|im_end|>"
TEMPLATE """ {{- if or .System .Tools }}<|im_start|>system {{- if .System }}
{{ .System }} {{- end }}
{{- if .Tools }}
# Tools
You may call one or more functions to assist with the user query.
You are provided with function signatures within <tools></tools> XML tags : <tools>
{{- range .Tools }}
{"type" : "function", "function" : {{ .Function }}}
{{- end }} </tools>
For each function call, return a json object with function name and arguments within <tool_call></tool_call> XML tags :
<tool_call>
{"name" : <function-name>, "arguments" : <args-json-object>} </tool_call>
{{- end }}<|im_end|> {{ end }}
{{- range $i, $_ := .Messages }}
{{- $last := eq (len (slice $.Messages $i)) 1 -}} {{- if eq .Role "user" }}<|im_start|>user
{{ .Content }}<|im_end|>
{{ else if eq .Role "assistant" }}<|im_start|>assistant {{ if .Content }} {{ .Content }}
{{- else if .ToolCalls }}<tool_call>
{{ range .ToolCalls }} {"name": " {{ .Function.Name }}", "arguments":
{{ .Function.Arguments }}} {{ end }}</tool_call>
{{- end }} {{ if not $last }}<|im_end|> {{ end }}
{{- else if eq .Role "tool" }}<|im_start|>user <tool_response>
{{ .Content }}
</tool_response><|im_end|> {{ end }}
{{- if and (ne .Role "assistant") $last }}<|im_start|>assistant {{ end }}
{{- end }}"""
四、创建模型ollama create qwq-32b-q8_0.gguf -f ./ModelFile
ollama list

运行命令
ollama run qwq-32b-q8_0.gguf
五、安装open-webUI1.下载 python 3.11,并创建虚拟环境
sudo apt install python3.11
sudo apt install python3.11-venv
sudo python3.11 -m venv myenv
2.进入虚拟环境,并安装 open-webUI
source myenv/bin/activate
pip3 install open-webui

3.启动 open-webUI
open-webui serve
等待安装完成

4.启用脱机模式
export OFFLINE_MODE=1
open-webui serve
六、选择模型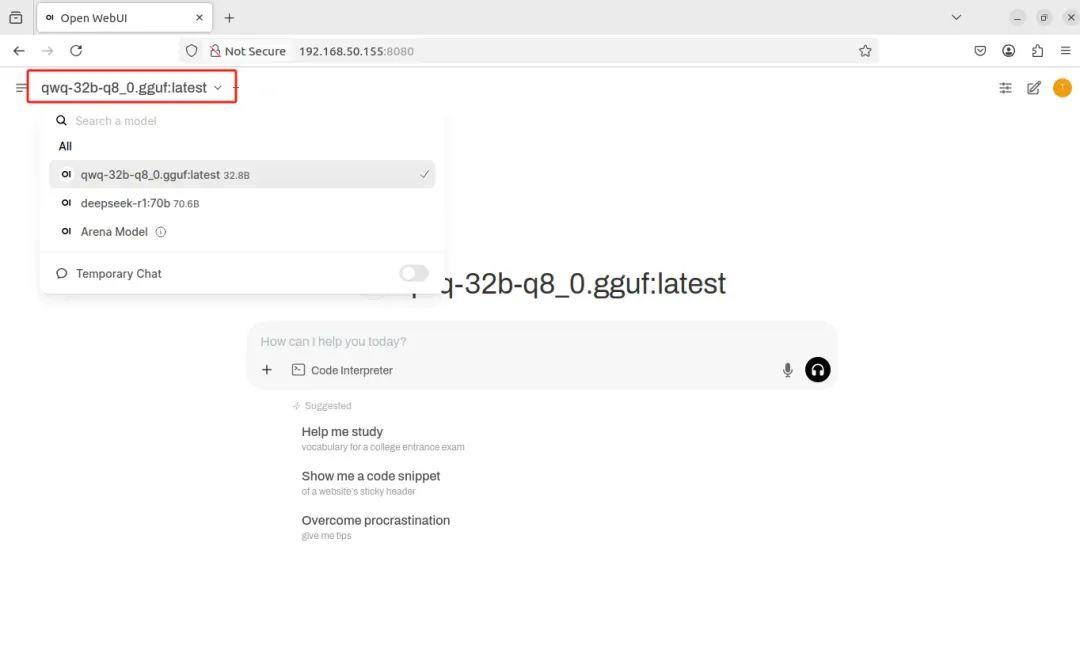
其他用户可以在windows 电脑或者手机通过
本机 IP:8080 进行访问
例如 192.168.50.155:8080