
大家好,欢迎来到无非课堂,我是无非~
工作中我们可能会遇到需要将部分信息用二维码显示的场景,相信大部分都会想到在工具网站自动生成。但是一个一个的生成,非常的麻烦。当然也可以买各种收费的用于批量生成二维码的插件,可能也确实好用。

如果你是土豪,这篇文章对你毫无价值,请直接关闭即可。
但绝大多数人,可能都是跟无非老师一样的苦逼打工人,那无非老师要分享的这个在Excel里批量生成二维码的方法,确实简单易学好用,关键是它免费!
例如要求将如下图所示的课程链接用二维码表示,

得到如下图所示的结果。

具体操作步骤为:
1.如下图所示,选定单元格C2,录入以下内容:
="<table><img src=""https://qrcode.tec-it.com/API/QRCode?data=TEC-IT"&ENCODEURL(B2)&"""/""width=""100""height=""100"">"
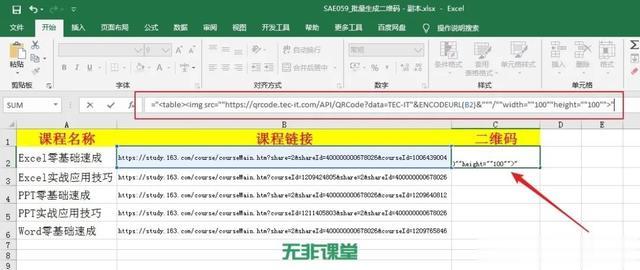
解析:通过https://qrcode.tec-it.com网站生成二维码(也可以是条形码等),复制生成的二维码图片链接,将链接中的地图地址修改为C2(二维码内容单元格),最后再结合html语言改造成上述公式内容即可。
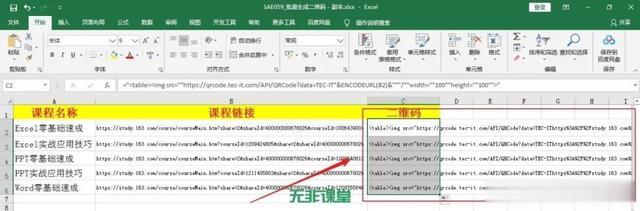
2.如下图所示,再次选定单元格C2,往下填充公式;
3.如下图所示,选定C2:C6单元格区域,右击,在弹出的快捷菜单中选择“复制”;

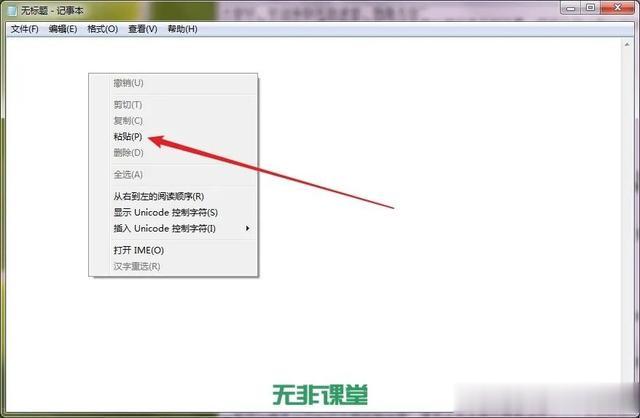
4.如下图所示,打开记事本,右击,在弹出的快捷菜单中选择“粘贴”;
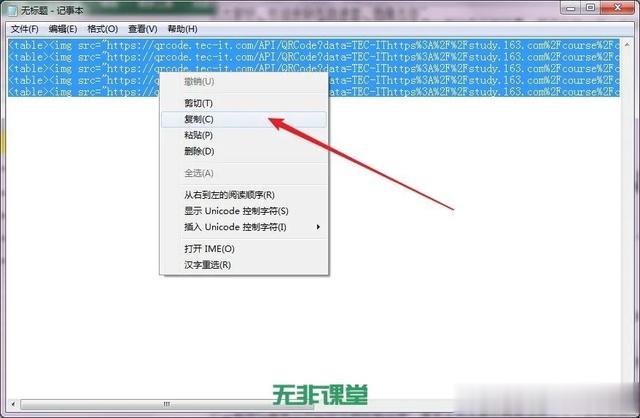
5.如下图所示,选定记事本内容,右击,在弹出的快捷菜单中选择“复制”;
6.如下图所示,选定C2单元格,右击,在弹出的快捷菜单中选择“选择性粘贴”,

如下图所示,在弹出的对话框中选择“Unicode文本”,单击“确定”按钮,

得到如下图所示的结果;

7.如下图所示,选定第2-6行,鼠标指针移到第6行的下边沿,调整行高为合适的大小,再调整一下C列宽度;

8.如下图所示,大功告成!

你学会了吗?觉得有用请点赞、收藏,转发分享给自己备份一份,以便以后忘记时可以快速找到查看!特别是单元格公式的内容生成比较麻烦,大家可以备份下来,需要的时候直接套用即可。

配套案例素材文件:SAE059_批量生成二维码.xlsx,关注“无非课堂”后回复“1111”获取,有任何疑问或有更好的方法,请在下方评论区留言交流~~
想要系统全面学习Excel,请点击下方专栏课程卡片获取!
